I have a minor clothing problem. I don’t even like shopping, but I am a bit of a collector of hoodies and sweatpants and t-shirts. I also have a problem doing laundry. Well, the doing of the laundry isn’t so bad, it’s the putting away that I’m terrible at. I tend to allow a basket of clean clothes hang out in it’s basket and then just rummage through it when I need something. Because apparently that’s easier than trying to find something in it’s own spot?
I have been on the hunt for a wardrobe for a long time. I wanted just the right one, but I wasn’t willing to spend a lot of money on it. It is amazing what people are asking for these things! Finally, I found it. It’s a Broyhill Fontana Armoire, knotty pine (which we love) and he wanted $129 for it. I asked him if he’d take $100 for it and he agreed!
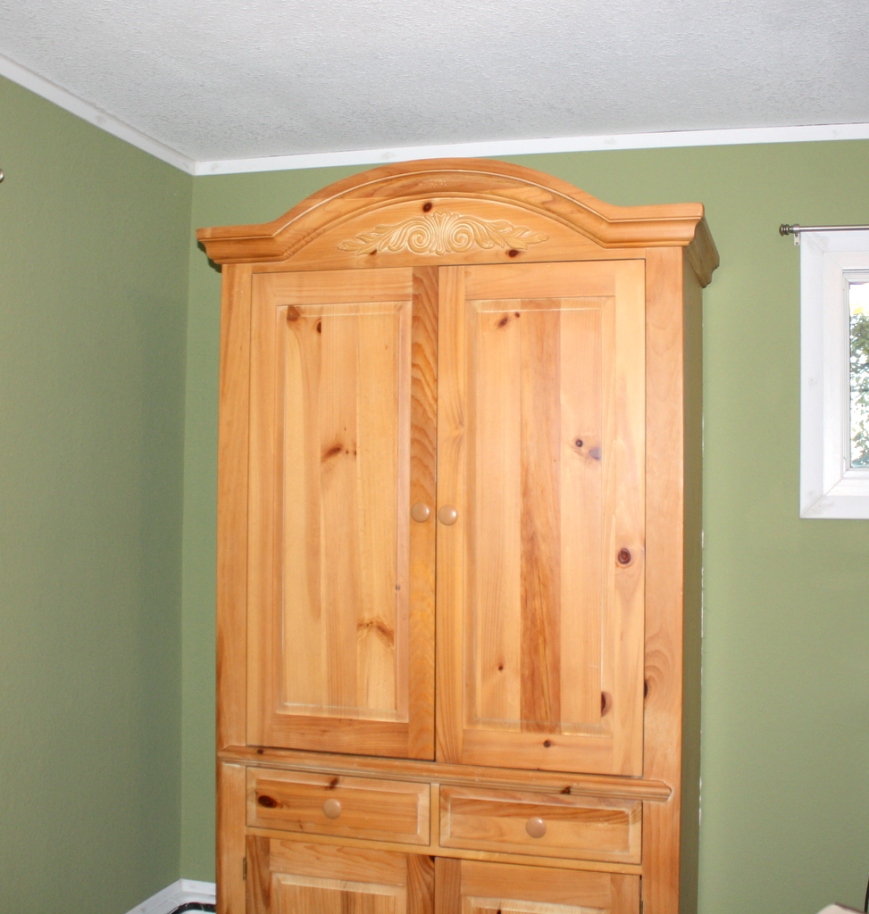
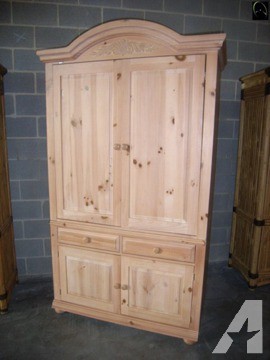 I tried to come back to the Craigslist listing to grab the image, but he had already pulled it down. But it is exactly like this one. The only problem with it going in, which we knew when we bought it, was that it’s set up to act as an entertainment center, not a wardrobe. I needed a place to put my hoard of clothes, not a place to store the TV.
Luckily, I married an incredibly handy man (who looks totally delicious in a tool belt if I do say so myself!)
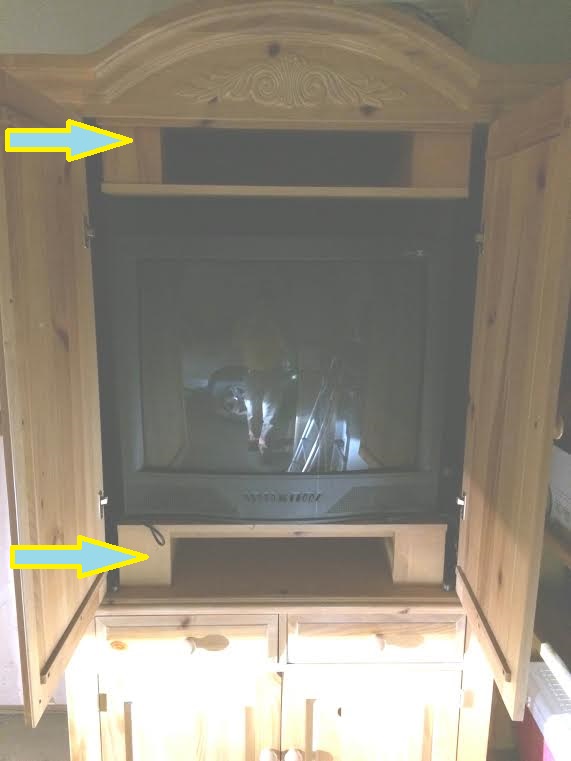
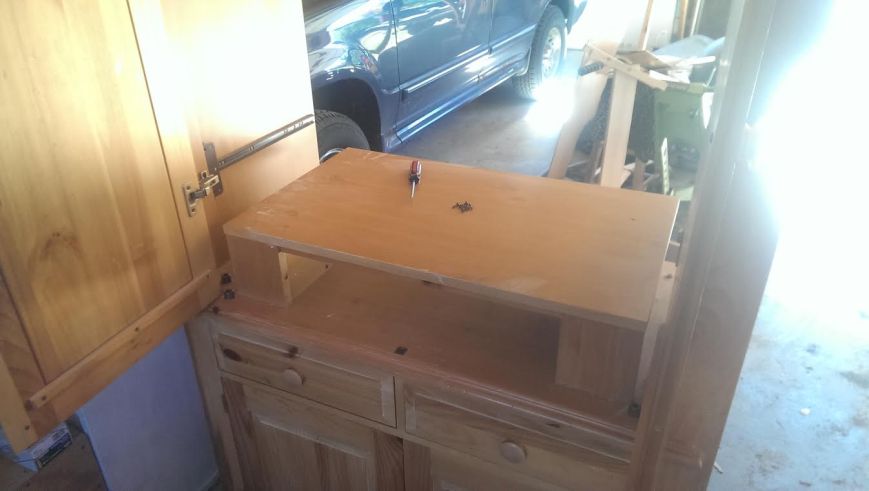
The first step was to rip out the two pieces that were in my way.
Turns out, some of the screws holding them in were behind the backing that holds the piece together. Temporary problem. Josh and I looked at each other, shrugged, and ripped the backing off. Take that!
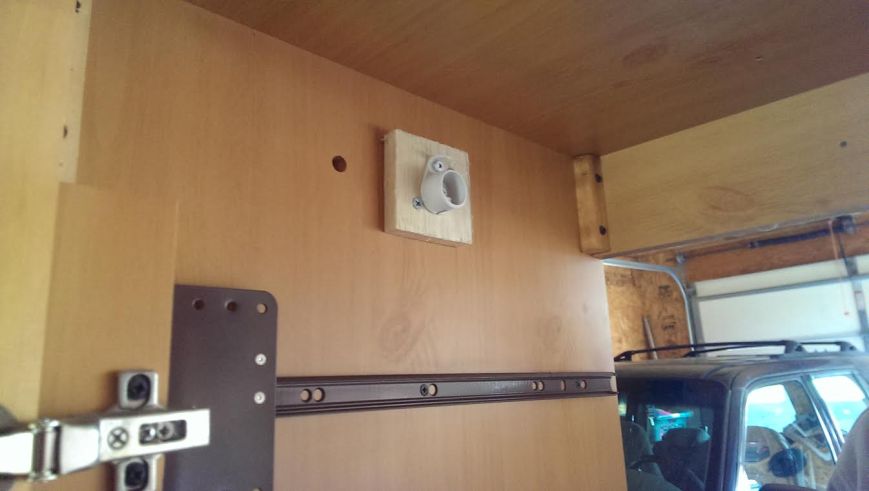
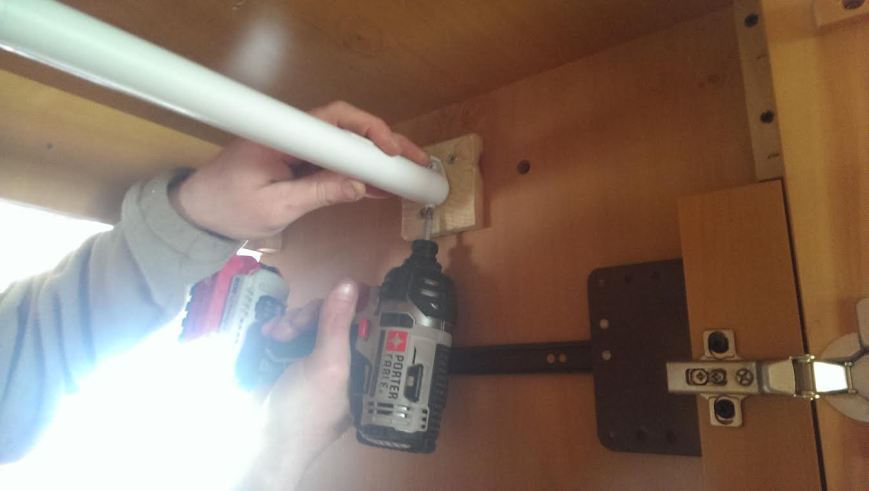
I love when our minds come to the same conclusion. We made a pit stop at Lowe’s and picked up a sturdy piece of 1/4″ plywood to replace the backing, and a new bar kit that would allow me to hang clothes in the wardrobe. Josh went about installing the bar.
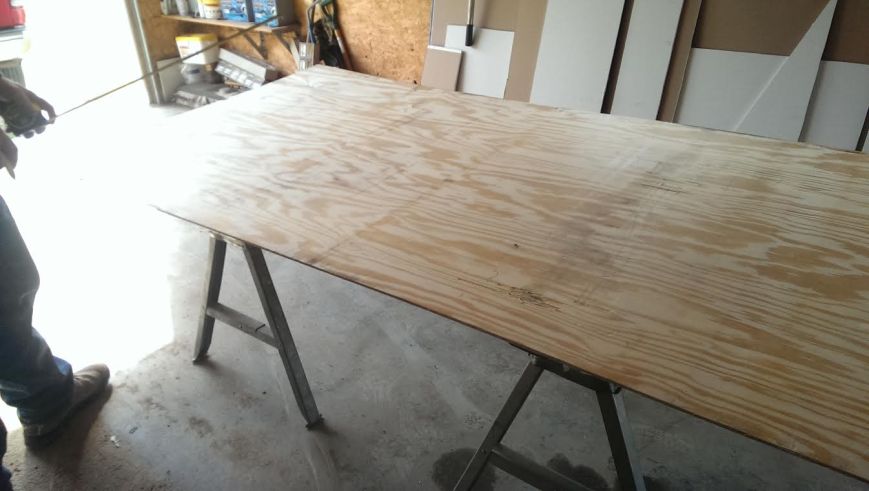
Meanwhile, I needed to figure out what to do with the plywood sheet. The uglier they are the cheaper they are, so we went sturdy but ugly. I didn’t want to see that every time I opened up the doors.
At first I was thinking paper, since I had so much of it. But since I’m now her owner and I can be hard on things, durability needed to be a factor, so I decided on fabric. I still had a length of fabric leftover from the Lamp Shade Makeover. It was the perfect length and width, and I didn’t think I’d use it for anything else anyways, so on it went.
I laid the fabric out on the board and smoothed it out, then took my staple gun and began carefully stapling it down around the outside.
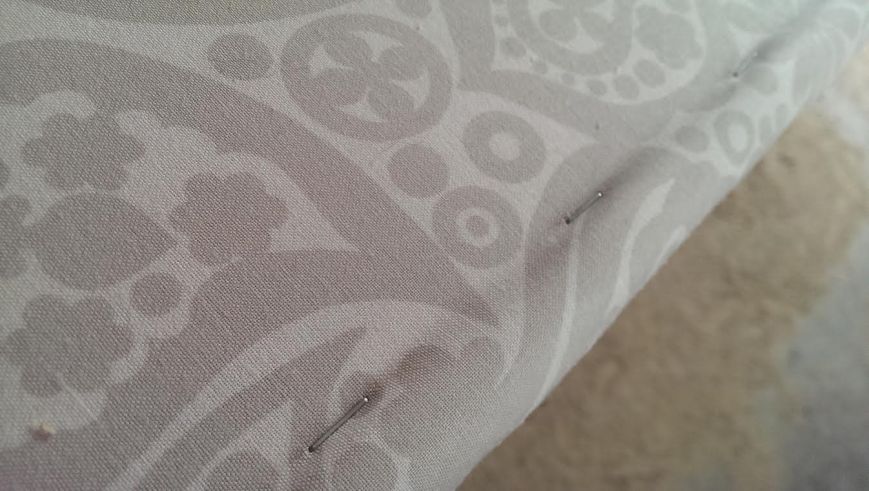
Sorry about the quality of the images here. I went full on cell phone photography for this!
With the completion of the gut job and the new bar successfully installed, we took the plywood and attached it to the back with a combination of screws and nails. The next hurdle was getting this monster out of the garage and into the house. It’s a BEAST. It took three of us to load it into the truck at the seller’s house, and Josh and I barely managed to get it out of the truck ourselves. The new plywood backing added another 15lbs to it. So we called up our buddy who owns a hardware store in town and he borrowed us his heavy duty dolly. We strapped her in and spent the next hour getting it into the bedroom, where we discovered how huge she actually was. We decided on the spot that either we’d sell it with the house if we ever sold it, or if we didn’t want it anymore, we’d be taking sledgehammers to it. I can’t even begin to describe how heavy this piece is!
I am already semi regretting it. You can’t tell how tall and how wide it really is until you get it into the bedroom. Once in, I started having a sick feeling in the pit of my stomach. It is too big. But my wonderful husband had just spent a good chunk of his day going to get it with me, helping me load it, taking it apart and putting it back together, and then busting his butt to get it in the house for me. My word, my hubby is amazing. There was no way I was changing my mind now!
So here it where it stands now. This is literally the ONLY place for it.
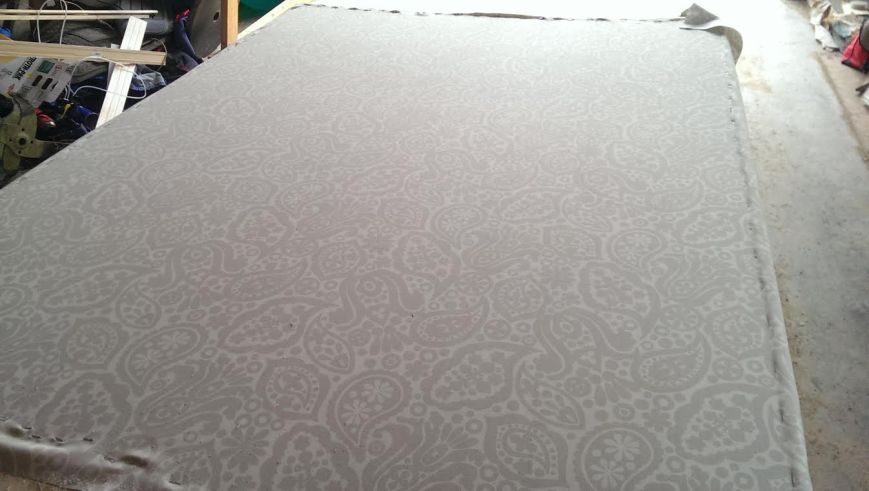
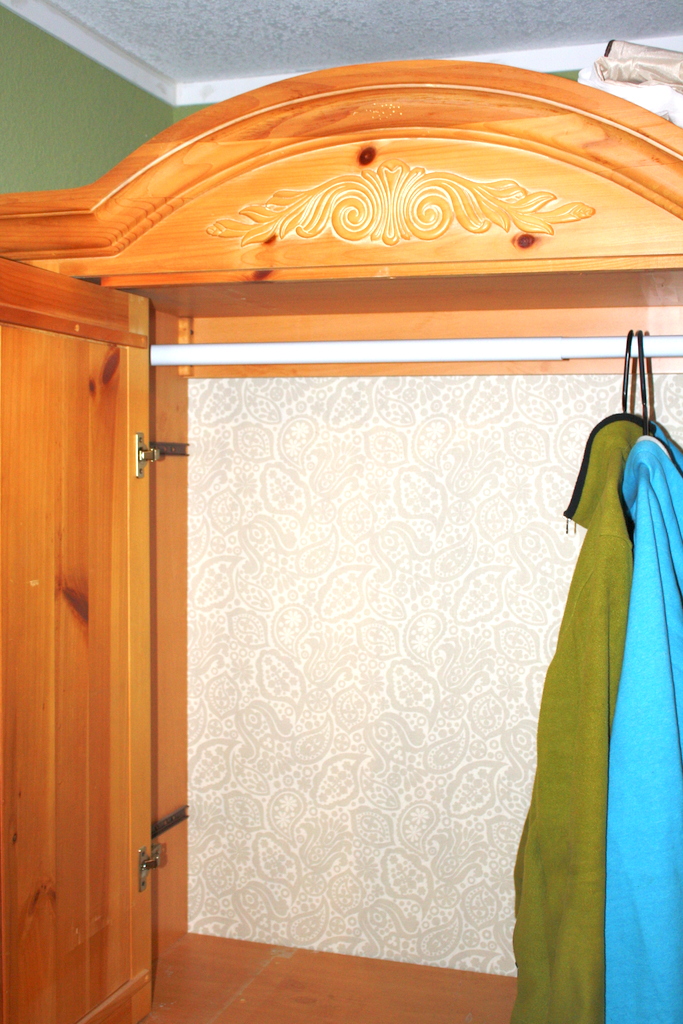
Here’s the finished fabric background.
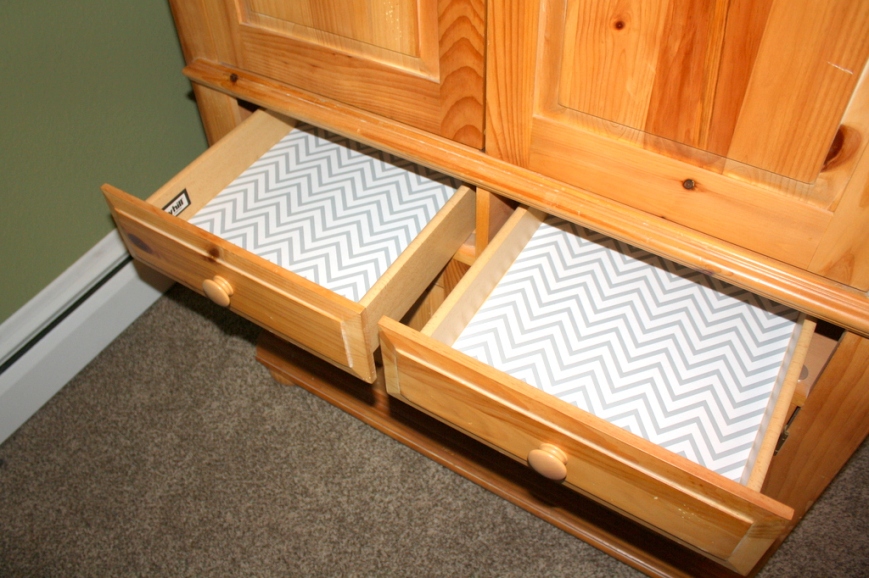
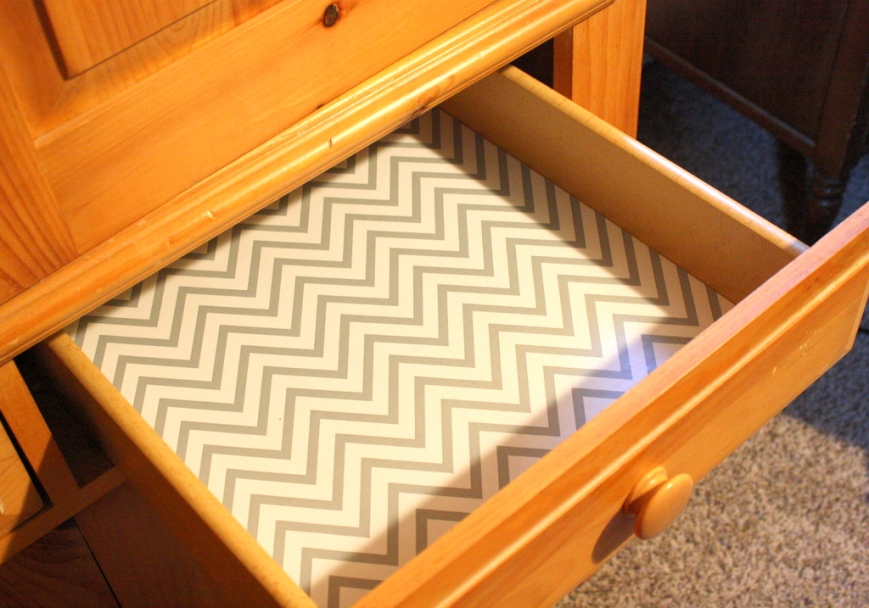
OH!!! I almost forgot about the drawers! The other day, I found this awesome gray and white chevron adhesive paper at Wal-Mart. WALMART! It was $5 and it’s beautiful! It was perfect for the drawers in this beast.
I call this post ‘part one’ because I have plans for it down the road. While I love the knotty pine, the piece is a little beat up. There are areas where it almost looks like somebody shot it with buck shot or something. It’s interesting. I’ll need to fill those with wood filler, then probably paint it. But that’s a project for another day (or another year!) For now, it’s functional as a wardrobe and that’s all that matters. I’m taking the bedroom back!

This whole post I was just thinking about how great of a painting project this would be! Just bring in plenty of drop clothes so you don’t have to move it to paint it! I love the way you made the back more interest, definitely better than plain plywood. I hope you start loving it soon, it’s such a neat piece!
LikeLike
Thank you, Kala!
LikeLike